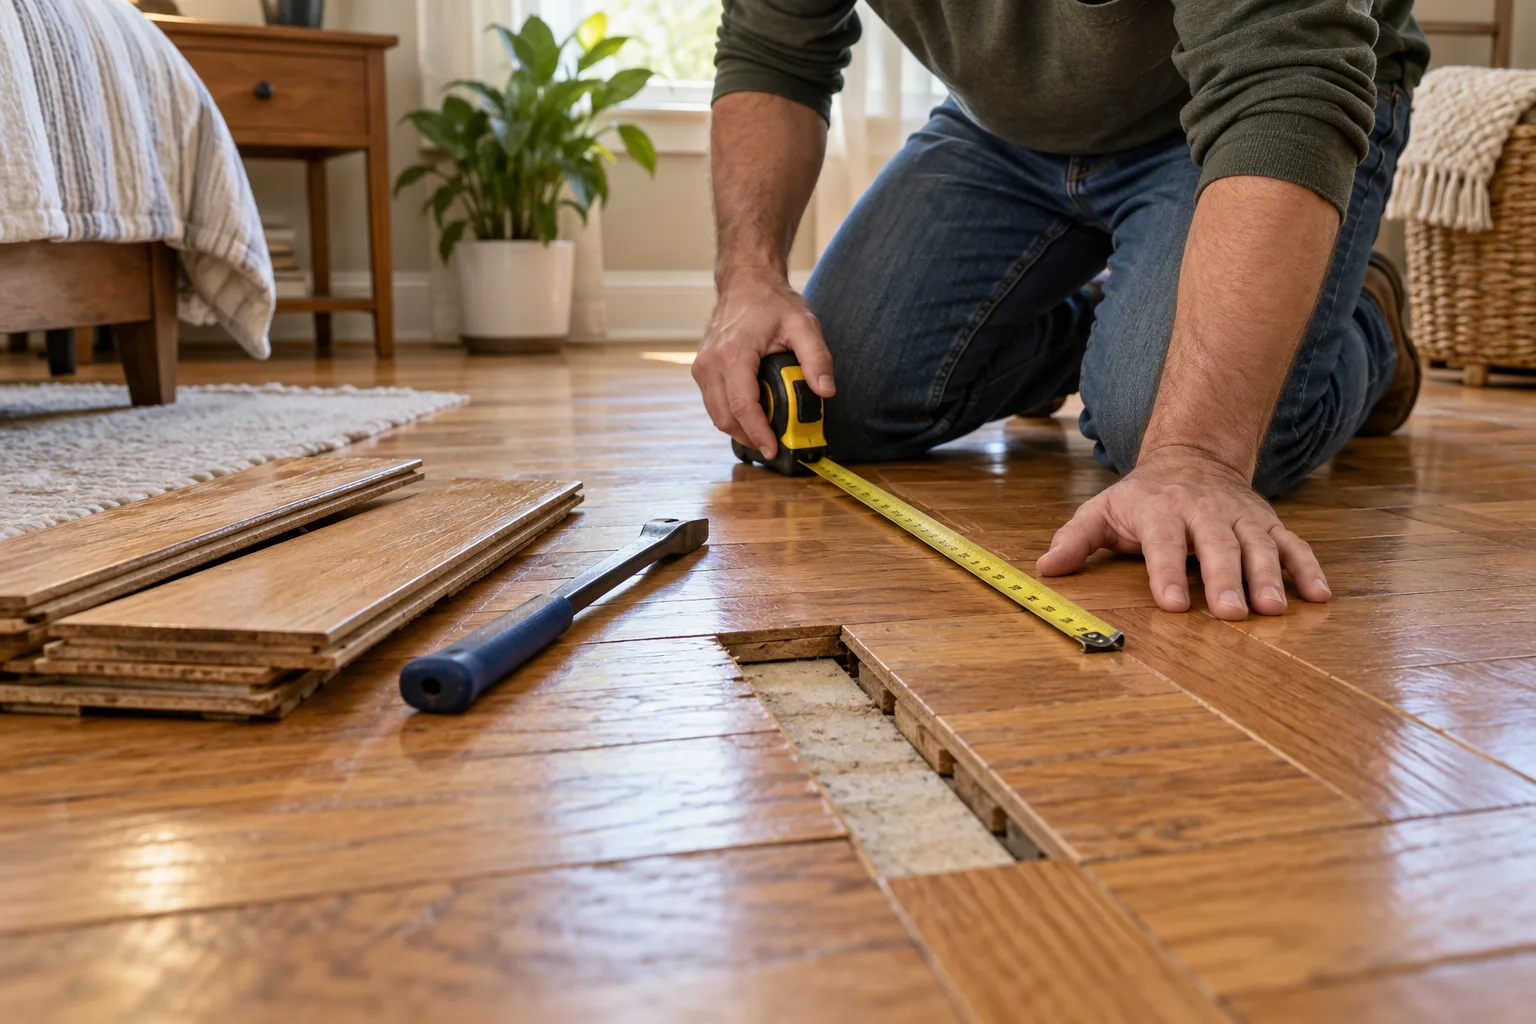
A squeak can come from a board rubbing against another board, a subfloor panel moving on a joist, or a loose connection somewhere in the floor system. The sound alone does not tell you which one. Before making a repair from above, identify the flooring, find the movement and check for signs that the floor needs a professional assessment.
Why a floor squeaks—and what “from above” changes
A squeak usually means two parts move against each other: a board against a fastener, a subfloor panel against a joist, or flooring against an underlayment. The sound helps you locate the movement, but it does not identify the assembly by itself. A repair that works on nailed hardwood can damage a floating floor.
“From above” means making the repair from the finished room side, often without opening a ceiling below. Before choosing a fastener, identify the visible flooring and check home records, installation paperwork or a discreet edge at a threshold. If you cannot tell whether the floor is solid wood, engineered wood, laminate, vinyl or tile, pause before drilling.
Identify the floor and map the squeak
Walk slowly across the area and mark the point where the sound repeats. Have another person apply light pressure while you watch for board movement; do not jump or load a questionable floor. Note whether the sound follows a board seam, a joist line, a doorway or one isolated spot. A low-cost moisture meter may help flag a change, but readings do not prove the cause or structural condition.
Do not cover up a warning sign. A soft or springy area, visible sag, recent leak, musty odor or movement that is getting worse can indicate more than a loose finish board. Find and fix the moisture source or have the structure assessed before attempting a surface repair.
| Floor type | What may move | Safer first direction |
|---|---|---|
| Carpet over wood | Subfloor panel or board moving at a joist. | Confirm an above-floor kit is rated for this assembly and follow its breakaway/locator directions. |
| Solid or engineered hardwood | Board-to-board friction, a loose board or subfloor movement. | Check finish and fastener path; use a system intended for that floor, or seek access from below. |
| Laminate or floating vinyl | Perimeter restriction, uneven underlayment or debris. | Check expansion gaps and installation guidance; do not pin the floating surface with a screw. |
| Tile or stone | Subfloor deflection or a bond/grout problem. | Do not inject or screw through the finish. Cracks or flex need a flooring professional. |
Choose an above-floor repair that fits
Purpose-built kits exist for certain carpeted floors and hardwood assemblies. Read the exact kit instructions before buying: some require a joist locator, a guide fixture and a breakaway screw, and they specify which floor layers may be fastened. The intended target is system-specific; a carpeted subfloor repair may locate a joist, while an approved hardwood-floor kit may secure a moving plank instead. A Weyerhaeuser field guide describes floor squeaks as a system issue involving subfloor panels, framing and fasteners; the correct repair depends on where movement occurs. O’Berry’s instructions also warn that its joist-finding screw is intended for carpeted plywood or chipboard and is not a hardwood joist locator.
For exposed hardwood, a trim screw or specialty fastener may be designed to sit below the surface and accept a matching filler. That does not make every screw safe in every board. Confirm the intended target, board thickness, finish, fastener depth and procedure in the instructions for your exact floor and repair system. A generic fastener can split a board, damage a finish or enter a service cavity.
Do not pour talc, oil or adhesive into a seam without checking the flooring maker’s care guidance. A lubricant can stain a finish, attract dirt or migrate; an adhesive may make future repairs difficult. If you try a manufacturer-approved surface treatment, test it in a hidden spot first.
A careful sequence before you drill
- Clear the area. Move furniture and rugs so you can see joints and access the full sound area.
- Check for damage. Look for swelling, cracks, open seams, stains, soft spots or a change in floor height. Stop if you find a moisture or structural warning sign.
- Identify the assembly. Confirm the floor type and installation method from records, an exposed threshold edge or the flooring manufacturer.
- Locate the movement. Mark the sound and determine whether it is a board, panel or broader floor movement. A squeak alone does not prove where a joist sits.
- Check for services. Check the target required by the repair-system instructions; depending on the floor, that may be a joist or a moving board. Check plans and the work area for wiring, plumbing and radiant heat. Use safety glasses and adequate lighting for any approved drilling step. If you cannot identify the target or rule out services, do not drill.
- Choose a compatible repair. Follow the exact instructions for the floor and repair system, including fastener type, spacing and depth. Do not substitute a generic screw.
- Test one point. Make one controlled repair in the specified location, then recheck the same step and sound before adding any more fasteners.
- Stop if the result is unclear. If the floor still moves, the fastener did not engage as expected or new damage appears, do not add more holes.
When to stop and call a flooring professional
Get help if the floor feels soft or bouncy, sags, has water damage, is tiled over an uncertain substrate, or produces widespread new noises. Also stop when the repair path could intersect electrical, plumbing or radiant-heating systems. A qualified flooring contractor can identify whether the movement is in the finish, subfloor, fasteners or framing and can explain whether access from above is appropriate.
If the repair is in a rental, condominium or shared building, confirm who is responsible before making a permanent change. Keep the product instructions and a photo of the location with any repair notes.
Frequently asked questions
Can you fix a squeaky floor without going underneath it?
Sometimes. A fastener system designed for the finished floor can reduce movement from above, but the right method depends on the floor construction, finish and the repair system’s intended target. Some floors need access from below or a contractor.
Can I screw through a floating floor to stop a squeak?
Do not fasten a floating laminate or vinyl floor through to the subfloor unless its manufacturer specifically instructs you to. The floor needs room to expand and contract; a screw can restrain it, damage the surface or create a new failure.
How do I find the repair target before using a fastener?
Start with the exact floor and kit instructions. A carpeted plywood or chipboard method may call for a joist locator, while a hardwood kit may target the moving plank instead. Check for wiring, plumbing and radiant heat; stop if the required target or fastener path is uncertain.
When should I call a flooring professional?
Get an assessment if the floor is soft, bouncy, water-damaged, visibly sagging, newly noisy across a large area, or if you cannot identify the floor system or possible services. A squeak with structural movement deserves more than a cosmetic repair.
Sources and further reading
- Weyerhaeuser: Floor squeak troubleshooting guide — explains how movement in a floor system can create squeaks.
- Squeeeeek No More: Hardwood kit instructions — manufacturer instructions distinguish the joist-finding tool’s use on carpeted plywood or chipboard from hardwood floors.
Review the flooring and repair-system instructions for your actual installation. Product methods are examples, not universal specifications.
Related home-improvement guides
Continue with how to remove paint from a wood floor without damaging the finish or browse the Renovation Range guide shelf.