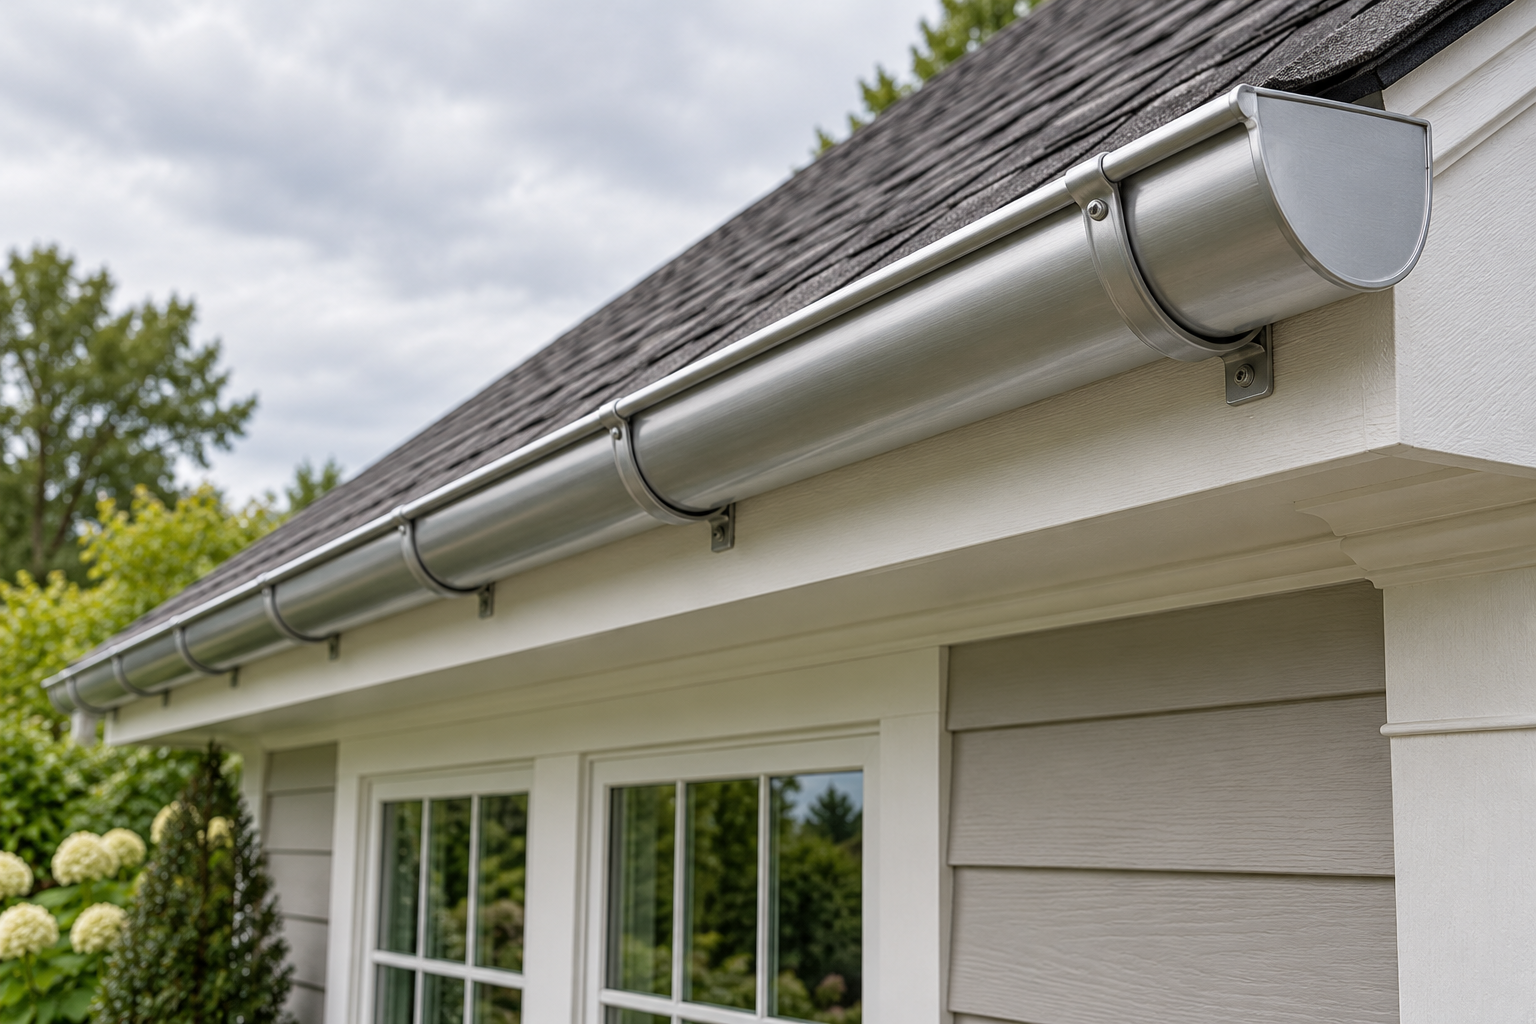
A half round gutter installation starts with a compatible system, sound fascia and a clear route to the downspout. Its curved trough uses profile-specific hangers and fittings, so parts that fit a K-style gutter may not fit a half-round one. Before buying materials, choose the gutter material and profile, then use the matching manufacturer's schematic and installation instructions for bracket type, spacing, slope, joints and expansion details.
When comparing half round gutters, match the half round gutter brackets to the selected trough; the sequence for installing half round gutters still comes from that specific manufacturer's instructions.
What makes half-round gutters different?
The semicircular channel looks simple, but the hanger has to cradle the gutter and secure it to the fascia or another approved support. End caps, outlets, corners, joiners and downspout adapters also need to match the exact profile and material. Half-round systems are available in more than one metal and size; for example, Berger lists copper, aluminum and steel options and publishes a system schematic. That range is a reminder to identify the actual product before planning the fit. Berger — Half-Round Gutters · Berger — Roof Drainage Systems and Schematic
Check the fascia, roof edge and bracket compatibility
Inspect the intended mounting surface from the ground and, if needed, from a safe accessible position. Look for rot, loose boards, peeling material, previous repairs and obstructions such as trim, soffit or roof overhangs. A bracket can only transfer load to a sound, suitable substrate. If the fascia is damaged or the gutter would need support from a different part of the roof, repair or get professional advice before installation.
Compare the product instructions with the roof edge and fascia dimensions. Confirm the chosen hanger matches the trough diameter and metal, and that its fasteners are intended for the substrate. Do not assume all half-round gutter brackets share a standard spacing, length or screw. The manufacturer's instructions take precedence.
Map the drainage route and gather the right components
Sketch each run, corner and outlet, then plan where downspouts will discharge water away from the building. Count the gutter lengths, inside and outside corners, end caps, outlets, joiners, hangers and downspout parts required by that exact system. Check whether your selected material requires compatible fasteners and sealant; mixing metals can cause corrosion, and system parts are not automatically interchangeable.
Use the installation guide to mark the high and low points and establish the required fall toward an outlet. There is no safe universal slope or hanger interval for every material, profile and manufacturer. If the roofline is irregular or the drainage route needs several turns, resolve that on paper first rather than correcting it with improvised brackets later.
Installation sequence: follow the selected system
- Prepare the run. Confirm the fascia is sound, the downspout route is open and all parts match the product. Read the complete installation guide before cutting or fastening.
- Lay out the line. Mark support positions and the required fall using the manufacturer's method. Keep corners, outlets and joints supported as the system specifies.
- Dry-fit the components. Check lengths, corners and outlet alignment before attaching anything. Account for the manufacturer's joint and thermal-movement instructions.
- Install the hangers and trough. Use only the approved hanger, fastener and sequence for the chosen substrate. Avoid guessing screw depth or changing the product's bracket arrangement.
- Finish the outlets and joints. Fit end caps, corners, joiners and downspout adapters as directed. Apply sealant only where and how the system requires it, and allow any stated cure time.
- Run a controlled water check. Feed a modest flow into the upper end and inspect the whole run, joints, corners and outlet for leakage, pooling or overflow. Correct the cause according to the instructions.
Work at roof height carries a fall risk. If access is awkward, the fascia needs repair, or you cannot install the line from stable access equipment, get a qualified installer rather than stretching from a ladder.
Common mistakes and quote checklist
Avoid mixing profiles or metals, setting a generic slope, spacing hangers from memory, sealing every joint indiscriminately, or placing the downspout where water drains toward a foundation. Do not compare installer estimates on price alone: ask which material and profile are specified, what fascia repairs are included, how outlets and corners are handled, what installation guide applies, and whether cleanup and leak checks are part of the work.
For related projects, use the gutter installation cost calculator for a separate planning estimate and see how to clean gutters with guards for maintenance after installation.
FAQ
How far apart should half-round gutter brackets be?
Use the spacing in the exact system's instructions. Material, hanger design and local conditions affect the specification.
Can half-round gutters attach to any fascia?
Only if the substrate is sound and the chosen hanger and fastener are approved for it. Repair damaged fascia first.
Can I reuse a different gutter's brackets?
Only if the manufacturer confirms compatibility with the gutter profile, material and mounting surface.